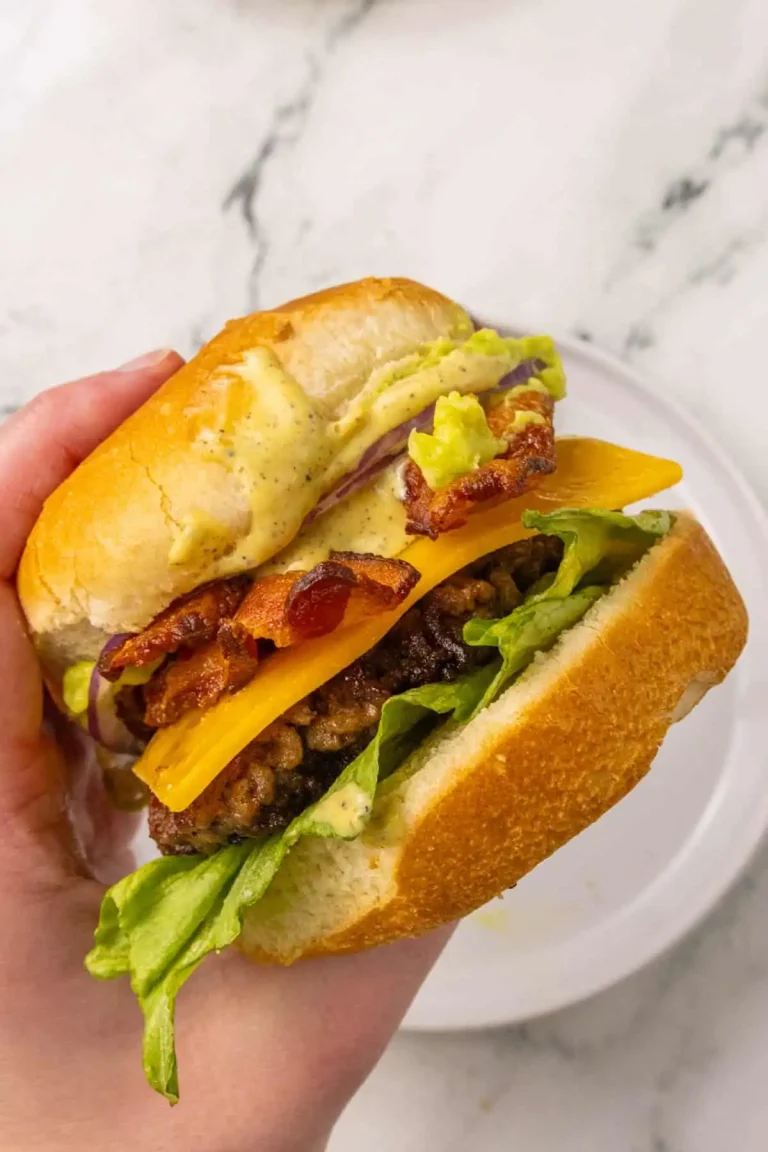
Jalapeño Popper Cheese Ball
This Jalapeño Popper Cheese Ball is a fun twist on a classic cheese ball, bringing all the familiar flavors of jalapeño poppers into an easy, shareable appetizer. It’s creamy, cheesy, savory, and loaded with delicious toppings.

Cream cheese, sharp cheddar, crispy bacon, and fresh jalapeños come together to create a flavorful appetizer that’s perfect for sharing. It’s a great choice for Thanksgiving gatherings, Christmas parties, game days, or any occasion where you need an easy make-ahead snack.
Ingredients & Substitutions
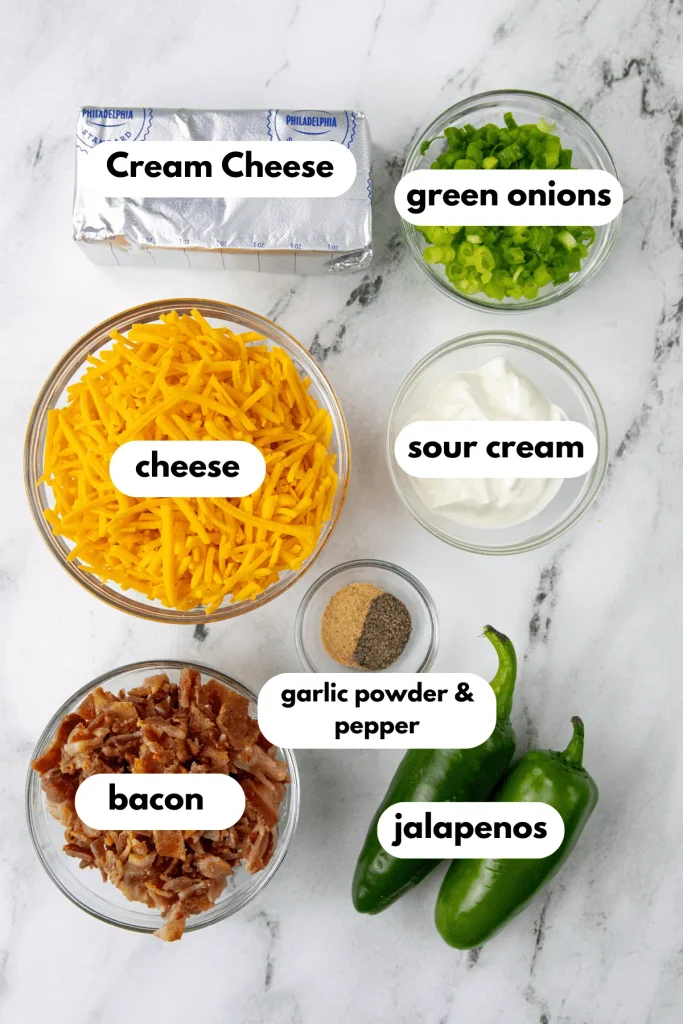
Cream Cheese – Softened cream cheese creates the creamy base and helps hold the cheese ball together.
Sour Cream – Sour cream adds extra creaminess and gives the mixture a smoother, softer texture.
Garlic Powder – A small amount adds subtle garlic flavor. You can leave it out if preferred.
Black Pepper – Adds a mild peppery bite and enhances the other flavors.
Bacon – Crispy chopped bacon provides smoky, salty flavor. Turkey bacon can also be used if desired.
Cheddar Cheese – Sharp cheddar gives the cheese ball its classic cheesy flavor. Pepper jack is another option if you’d like additional heat.
Jalapeños – Fresh jalapeños bring a bright, slightly spicy flavor. Remove the seeds and membranes for a milder cheese ball.
Green Onion – Sliced green onions add freshness and a mild onion flavor that balances the rich cheese mixture.
See the recipe card below for the complete ingredient list and measurements.
How to Make Jalapeño Popper Cheese Ball
Cook the Bacon

Preheat the oven to 400°F. Arrange the bacon in a single layer on a sheet pan and bake for 12–15 minutes, or until very crisp. Transfer it to a paper towel-lined plate, remove excess grease, and chop it into small pieces.
Mix The Base
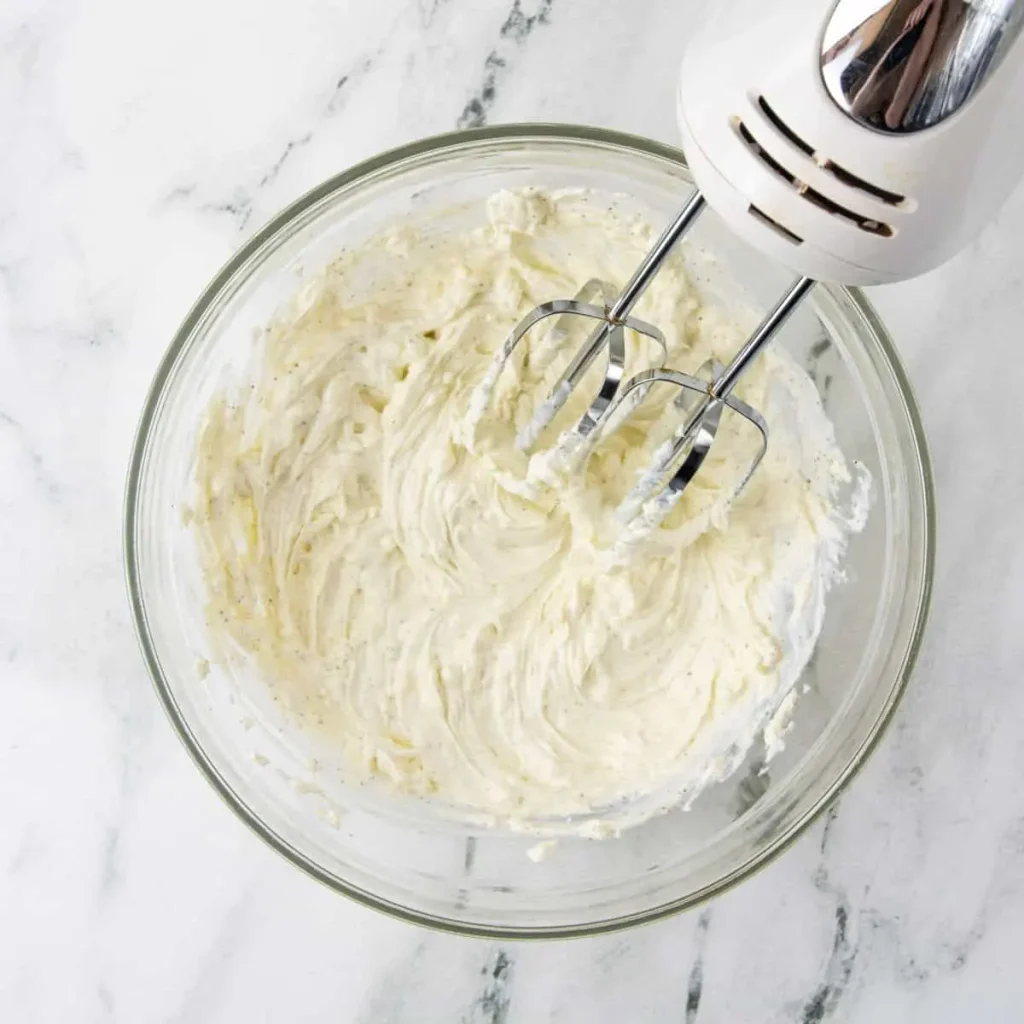
Add the softened cream cheese, sour cream, garlic powder, and black pepper to a large bowl. Use a hand mixer or stand mixer to beat everything until smooth and creamy.
Incorporate the Add-Ins

Fold in about three-quarters of the cooked bacon, 1 cup of shredded cheddar, half of the diced jalapeños, and half of the sliced green onions. Mix gently until the ingredients are evenly distributed.
Reserve the Toppings

Place the remaining cheddar, bacon, jalapeños, and green onions in a small container or bag and refrigerate them until you’re ready to coat the cheese ball. Place a large sheet of plastic wrap on
Shape the Cheese Ball
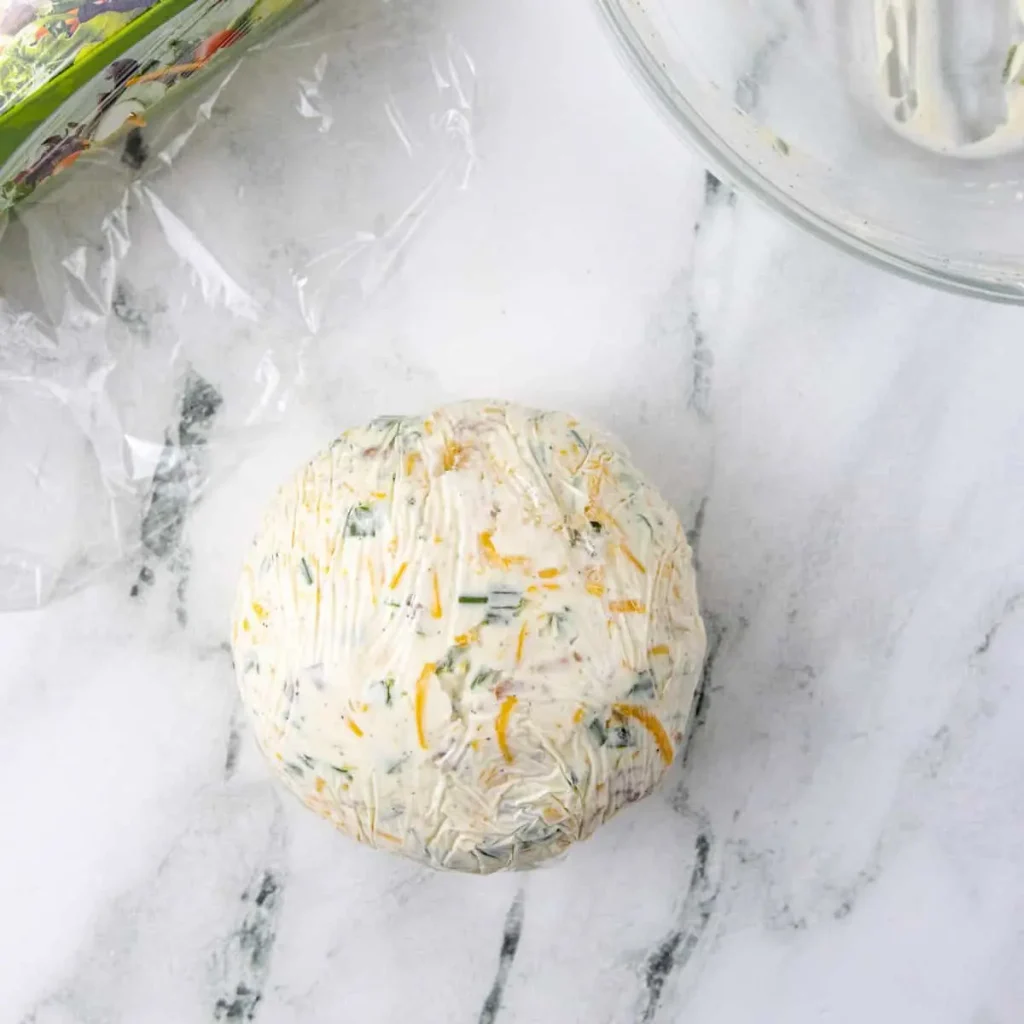
the counter and spoon the cheese mixture into the center. Bring the plastic wrap around the mixture and shape it into a compact ball. Refrigerate for at least 2 hours, preferably overnight, so it becomes firm.
Coat and Serve

Remove the cheese ball from the refrigerator about 20 minutes before serving. Spread the reserved toppings on a plate or cutting board. Unwrap the cheese ball and gently roll it through the toppings until the entire outside is covered.
Tip
Give the cheese ball enough time to chill before serving. A few hours in the refrigerator, or preferably overnight, allows it to firm up and makes it easier to coat without losing its shape.
Make sure the bacon is cooked until extra crispy. Softer bacon can become less appealing once it’s mixed into or placed on the creamy cheese mixture.
For a neat and attractive finish, finely chop the jalapeños, bacon, and green onions used for the outside coating.
Common Questions
Can I make this cheese ball ahead of time?
Yes. You can prepare the cheese ball up to 2 days ahead. Keep it tightly wrapped and refrigerated until you’re ready to serve it.
What should I serve with the cheese ball?
Serve it alongside crackers, toasted baguette slices, pita chips, or fresh vegetables such as carrots, celery, and bell peppers.

Jalapeño Popper Cheese Ball
This Jalapeño Popper Cheese Ball combines cream cheese, cheddar cheese, bacon bits, and jalapeños making for a savory appetizer that your guest will love.
Ingredients
Instructions
- Preheat your oven to 400°F. Arrange the bacon in a single layer on a sheet pan. Bake for 12-15 minutes, or until crispy. Transfer the bacon to a paper towel-lined plate to drain, patting off excess grease. Chop into bite-sized pieces.
- Add the cream cheese, sour cream, garlic powder, and pepper to a large bowl. Using a stand or hand mixer beat until smooth and creamy.
- Mix in ¾ of the bacon, 1 cup of cheese, half of the diced jalapeños, and half the green onions using a spatula.
- Place the remaining cheddar, bacon, jalapeños, and green onions in a plastic bag or small dish, and store them in the refrigerator for tomorrow.
- Lay a large piece of plastic wrap on the countertop. Spoon the cheese mixture into the center, then bring up the sides of the plastic wrap to cover it completely. Shape the mixture into a ball. Refrigerate the cheese ball overnight, or for at least 2 hours, to firm it up.
- About 20 minutes before serving, remove the cheese ball from the refrigerator. Spread the reserved cheddar, bacon, jalapeños, and green onions on a cutting board or large plate. Unwrap the cheese ball and roll it in the reserved toppings until fully coated.
Notes
Make sure to let the cheese ball chill for at least a few hours or overnight to firm up properly. This step ensures it holds its shape when you roll it in the toppings.
Make sure the bacon is extra crispy. If it’s not, the bacon will look undercooked on the cream cheese ball.
Finely chop the topping ingredients to make the jalapeño cheese ball look even better!
Nutrition
Serving: 1 Serving | Calories: 239 kcal | Carbohydrates: 3 g | Protein: 8 g | Fat: 22 g | Saturated Fat: 11 g | Sugar: 1 g
The nutritional information provided is an estimate and may vary based on the ingredients used.
Author: Megan Torres